Continuing from the prior post, let’s now set up an environment for testing performance. In the next post after this one, I will explain how to get performance measurements. In future posts, I will try a variety of techniques for improving performance and report how effective each technique turns out to be.
When I develop in Unity, I write extensive C# scripts, but develop none of the artwork. The Unity Asset Store has so many pre-made environments and 3D models to choose from, that an independent developer or hobbyist (like me) who would rather write code than develop original art can go a long way. The only 3D artwork I have made in a finished product are a couple of somewhat strange drone models in my Flying Drone Toolkit.
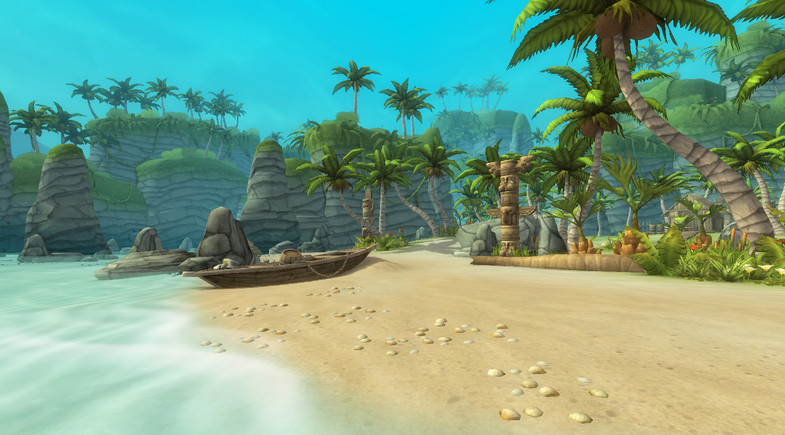
So, as a test case, I will set up the Hand-Painted Island Pack from the Asset Store to run in virtual reality on an Oculus Rift. This environment is used for one of the levels in my Sharkferno game (under development), so determining its performance in VR and how to optimize that should help eliminate the judder currently in Sharkferno.
I do want to clarify that this is just one aspect of Unity performance improvement. Every game is different; there is not one recipe for improving performance. A really good introduction to Unity performance optimization was presented at Unite Europe 2017. My focus here will specifically be making a Unity environment, obtained from the Unity Asset Store, as performant as possible.

First, let’s make sure we use the latest version of Unity recommended for Oculus development, which at the time of this writing is version 2019.1.2.f1. I like to use Unity Hub to manage different versions of Unity.
I created a new Unity project, “Optimize Island Scene,” and loaded in the Hand-Painted Island Pack (version 1.3), and opened the sample “island scene.”
I would like to be able to move through the environment and collect performance metrics as I go, rather than from one single vantage point. The sample “island scene” does include a First Person Controller, but unfortunately it is missing some scripts and does not seem to work. (Likely it did work in older versions of Unity.) So, to get a working controller into the scene, I imported the Oculus Utilities for Unity (version 1.40), which includes a VR first-person controller. (Installing the Oculus Utilities results in Unity asking whether I want to update OVRPlugin, to which the correct response is “yes.”)
After importing the Oculus Utilities, I disable the island scene’s (broken) First Person Controller, and drag an instance of OVRPlayerController from the Oculus -> VR -> Prefabs folder onto the scene. The coordinate systems don’t line up, so at first the OVRPlayerController is literally under water. An easy way to fix this is to:
- Drag the OVRPlayerController object to be a child of an object in the scene, such as a rock.
- Reset the OVRPlayerController’s transform so that it will be co-located with that object.
- Drag the OVRPlayerController back to the top level of the scene hierarchy.
- (Optional) View the OVRPlayerController in the scene view and drag it a bit so that it is not in the middle of a solid object, such as a rock.
I can now run the island scene in the Unity editor, wearing my Rift, and can in fact move through the island scene using the arrow or w/a/s/d keys.
So far this has been easy. The hardest part was to figure out how to get the video above onto this blog page, because I am new to using WordPress and there is some mismatch between the file produced by Camtasia Studio 8 and YouTube. 🙂
In the next post, I will set up the tools to take baseline performance measurements on the island scene, and we will see how close we are to good VR performance before we do any performance tuning. I doubt that it will be good enough yet, but we will see….